Categories
Awesome Linux Open source PinePhone Projects

Mouse in a Pipe

Have you ever wanted to control your notebook directly from your desktop? How about controlling your phone? Wouldn’t it be better to type that chat message using a real keyboard? I wanted the same thing, so I wrote an app for that!

More precisely I created a tool that enables you to redirect mouse and keyboard events from one device to another. It’s like you reconnected your mouse and keyboard, but without the physical effort! All of this happens on a very low level (through the kernel) so this works seamlessly with any application you want to control. All you need is a Linux OS on both of the devices.

Repository: https://github.com/Dejvino/mouse-piped

One more interesting point is that the input events are pushed through a pipe, which is a generic way of transferring data among processes in Unix-based operating systems. It is up to you how you decide to transfer the data. Though most likely it will happen via SSH. You can easily generate input events on your main computer and then pipe them through SSH to your secondary computer (or a phone) and control it that way. Or you might decide to create a TCP connection and pass the data through that. That’s up to you!

And you know what else is this useful for? That’s right, you can finally play OpenTTD on a PinePhone with the full comfort of a mouse and keyboard!

Categories
Linux Open source PicoPosts PinePhone Projects

Arch Linux ARM Installer for PinePhone

I started building an automated Arch Linux ARM installation and customization set of scripts to be used for the PinePhone. The aim is to make the process easier while still being able to customize every aspect of the OS.

Repository URL: https://github.com/Dejvino/pinephone-arch-install

Arch Linux ARM running LXDE, Firefox and Onboard keyboard.

Arch Linux ARM was the best OS for PinePhone I’ve seen so far. It might be due to personal preference, but I just love how you have the full power of Arch on your mobile phone.

And if Arch is not your thing, at least you can learn what are the steps required for bringing a Linux OS into a PinePhone.

Categories
Linux PinePhone

Errors During PinePhone Install

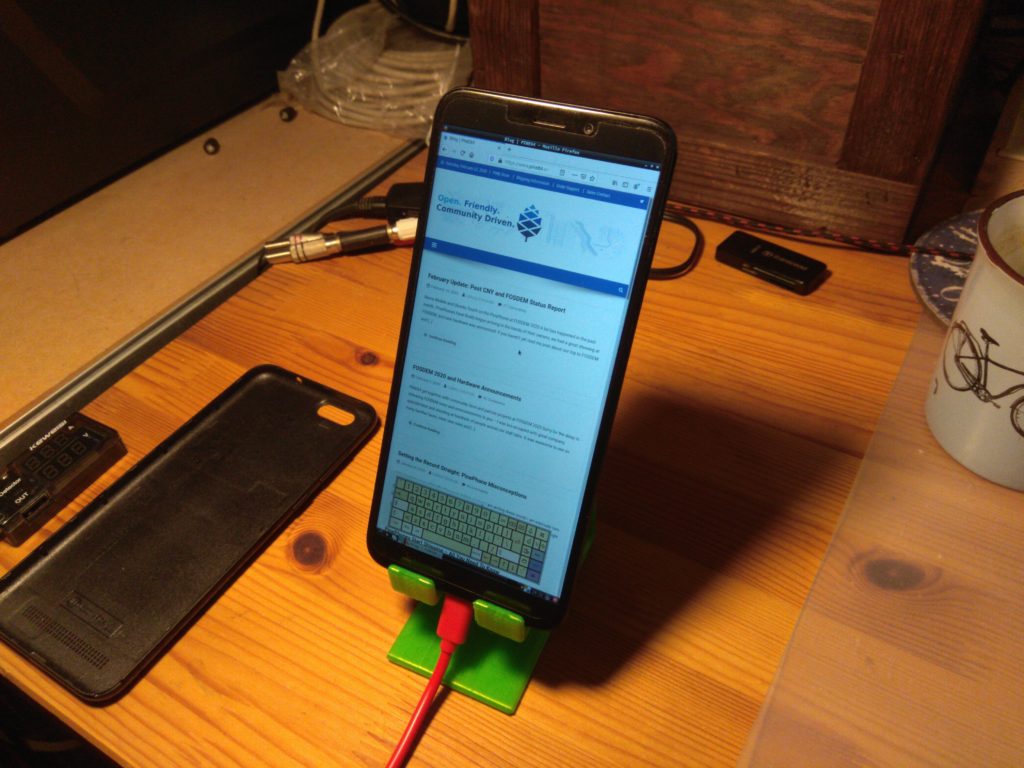
I learned a lot about hardware and operating systems since I received my PinePhone. A lot of times it was during error investigation. With a small chance that this information might get picked up by another PinePhone enthusiast, I’ll post the error messages and my solutions here.

RTL firmware not found

Bluetooth firmware on my Arch Linux ARM was missing, it is a non-free firmware so it is not included by default.

Feb 23 19:21:58 alarm kernel: bluetooth hci0: Direct firmware load for rtl_bt/rtl8723cs_xx_fw.bin failed with error -2
Feb 23 19:21:58 alarm kernel: Bluetooth: hci0: RTL: firmware file rtl_bt/rtl8723cs_xx_fw.bin not found

With this I just went over to my postmarketOS SD Card image and copied the corresponding files from /lib/firmware/rtl_bt/ over SSH

scp lib/firmware/rtl_bt/rtl8723cs_xx_fw.bin root@pinephone_ip_address:/lib/firmware/rtl_bt/
scp lib/firmware/rtl_bt/rtl8723cs_xx_config-pinebook.bin root@pinephone_ip_address:/lib/firmware/rtl_bt/rtl8723cs_xx_config-pinephone.bin # notice the rename

systemd-binfmt Failed

I was getting a lot of binfmt-related errors like the ones in bold below. And if there is one thing you don’t want to see it is a red FAILED log line during boot process.

[...]
Feb 23 19:36:10 alarm systemd[1]: Mounted Temporary Directory (/tmp).
Feb 23 19:36:10 alarm systemd[1]: Started Create list of static device nodes for the current kernel.
Feb 23 19:36:10 alarm systemd[1]: systemd-binfmt.service: Main process exited, code=exited, status=1/FAILURE
Feb 23 19:36:10 alarm systemd[1]: systemd-binfmt.service: Failed with result 'exit-code'.
Feb 23 19:36:10 alarm systemd[1]: Failed to start Set Up Additional Binary Formats.
Feb 23 19:36:10 alarm systemd[1]: Started Load Kernel Modules.
[...]
Feb 23 19:36:10 alarm systemd-binfmt[267]: Failed to add binary format: No such file or directory
[...]
Feb 23 19:36:13 alarm systemd[1]: Starting Load/Save RF Kill Switch Status…
Feb 23 19:36:13 alarm systemd-binfmt[385]: Failed to add binary format: No such file or directory
Feb 23 19:36:13 alarm systemd[1]: Condition check resulted in Create System Users being skipped.
Feb 23 19:36:13 alarm systemd[1]: systemd-binfmt.service: Main process exited, code=exited, status=1/FAILURE
Feb 23 19:36:13 alarm systemd[1]: systemd-binfmt.service: Failed with result 'exit-code'.
Feb 23 19:36:13 alarm systemd[1]: Failed to start Set Up Additional Binary Formats.
Feb 23 19:36:13 alarm systemd[1]: Started Load/Save RF Kill Switch Status.
[...]

So I went to investigate the service’s config files, seeing the “Failed to add binary format: No such file or directory” error. There are several directories that binfmt is looking for its config files. As it turns out all of them were empty apart from one. I found out that after installing mono it registered itself with binfmt. Not sure why, but I certainly don’t need it, so the solution is simple.

rm /usr/lib/binfmt.d/mono.conf 

Done!

Broken Battery In ACPI

Multiple components make use of the ACPI and all of them report a dead battery. E.g. battery applet or laptop-mode service:

Feb 23 19:22:05 alarm laptop-mode[1653]: Failed to re-set power saving mode for wireless card
Feb 23 19:22:05 alarm laptop-mode[1700]: WARNING: Battery does not report a capacity. Minimum battery
Feb 23 19:22:05 alarm laptop-mode[1701]: charge checking does not work without a design capacity.
Feb 23 19:22:05 alarm laptop-mode[1702]: WARNING: Battery does not report a design capacity. Auto hibernation
Feb 23 19:22:05 alarm laptop-mode[1703]: does not work without a design capacity.
Feb 23 19:22:05 alarm laptop-mode[1704]: You seem to have a broken battery
Feb 23 19:22:05 alarm laptop-mode[1705]: Cannot determine design_capacity_warning
Feb 23 19:22:05 alarm laptop-mode[1706]: Disabling hibernation
Feb 23 19:22:05 alarm laptop-mode[1707]: Failed to determine battery charge. Battery charge units are not in
Feb 23 19:22:05 alarm laptop-mode[1708]: mWh, uWh, mAh or uAh.
Feb 23 19:22:05 alarm laptop-mode[1711]: enabled, active

This is not the case since the battery is actually fine, it just doesn’t work with ACPI:

# cat /sys/class/power_supply/axp20x-battery/uevent 
POWER_SUPPLY_NAME=axp20x-battery
POWER_SUPPLY_PRESENT=1
POWER_SUPPLY_ONLINE=1
POWER_SUPPLY_STATUS=Discharging
POWER_SUPPLY_VOLTAGE_NOW=4112000
POWER_SUPPLY_CURRENT_NOW=429000
POWER_SUPPLY_CONSTANT_CHARGE_CURRENT=1200000
POWER_SUPPLY_CONSTANT_CHARGE_CURRENT_MAX=1200000
POWER_SUPPLY_HEALTH=Good
POWER_SUPPLY_VOLTAGE_MAX_DESIGN=4200000
POWER_SUPPLY_VOLTAGE_MIN_DESIGN=2900000
POWER_SUPPLY_CAPACITY=95

Seems the kernel I’m using doesn’t have it enabled, as you can see here:

#  ls -l /usr/lib/modules/$(uname -r)/kernel/drivers/acpi
ls: cannot access '/usr/lib/modules/5.6.0-rc1-00239-geb93b104bbccb/kernel/drivers/acpi': No such file or directory

Categories
Linux Open source PinePhone

PinePhone Status Review 2020-02-22

I’ve spent a bit of time with my new Linux toy, PINE64 PinePhone. This is a smartphone built on top of components that are supported well by the mainline Linux kernel. So in theory it should be a piece of cake to get installed. Is it?

Various Gotchas

Let’s start with a few gotchas that somewhat surprised me.

WiFi needs a battery

The WiFi / GSM modem needs a battery to be connected in order to operate. Otherwise it won’t even appear as an available device. You could spend a lot of time trying to connect to the WiFi like this. In vain.

Power Hungry

The phone is really hungry for power and often it is not enough to connect it to a PC. The battery will discharge even when connected via a USB cable, unless the power source is strong enough. Running on 0.5A (2.5W) is not enough. It generally takes around 1.4A (7W) when running a full featured OS and it will drop to 0% eventually.

Keyboard!

You never appreciate it enough until you lose it. Having a shell in your phone is great. Though you can’t really use it, since there is no keyboard available. This one is somewhat obvious, but it is a big hurdle when trying out various systems. You can install some virtual keyboard, but it won’t have all the keys you need and it doesn’t work in every environment. Not reliably at least. Your best bet is to get an SSH connection going as a workaround. Hardware keyboards are not supported / don’t exist right now.

Operating Systems

I’ve tried out multiple systems and environments, here are a few thoughts about them.

postmarketOS

I’d say this is the best OS out there right now. At least in terms of having a solid PinePhone support, configurability and a reasonable Linux distribution underneath. It has a dedicated PinePhone wiki page. You have a choice of multiple UI environments (including phosh, mate and xfce4). It is based on Alpine Linux with all of its ARM packages at your disposal.

Though it was very exciting to have a full blown Linux desktop like Xfce on the phone’s screen, the touch controls were something to be desired. A much better experience can be achieved with Librem’s Phosh. This on the other hand has a scaling turned on (lowered DPI), which messes up a lot of applications so that they become unusable. But it is still closest to a usable working environment.

What I appreciated the most was pmbootstrap which is a CLI tool that lets you configure your custom OS image down to what UI and packages you want to include by default. Thanks to this you have a tailored SD Card ready to be used with your PinePhone.

Arch Linux ARM

My favorite Linux distribution is available for PinePhone as well! Although not customized for it, it is possible to use this and customize it on your own. There is a general guide on installing Arch for PINE64 board, which the PinePhone is based on. There is also a customized kernel that you can use over at xnux.eu with a nice tutorial on how to install it.

I’ve just started with this one, so not much to report apart from that it is working. I have a terminal login prompt on the screen and a SSH connection over a USB cable from my PC. Life is good.

Fedora Mobile

You can install all sorts of things on the PinePhone. I’ve tested this set of shell scripts that help you prepare a Fedora Mobile on an SD Card. A system that was not optimized for this device. The result itself was unusable (at least the release that I tested). Nevertheless I enjoyed learning about the process of preparing a bootable SD Card. Even though it is basically the same for every OS, this set of bash scripts was really easy to study and use it as a tutorial.

Ubuntu Touch

Ubuntu Touch somewhat effortlessly worked to the extend you’d expect with a partially supported device. I liked that they provide an SD Card image for the PinePhone, so all you have to do is to flash it (e.g. using dd) and pop it into the phone.

I personally don’t enjoy Ubuntu for some reason so I won’t experiment with it or comment on this much more.

PS:

Did I mention you can run OpenTTD on it? Oh yeah…

Categories
Hardware Linux

Root Access to TL-WDR3600

I played around with an old router I had lying around. It is a TP-LINK, model TL-WDR3600 (N600 Wireless Dual Band Gigabit Router). After opening the case you can see a 4-pin connection point that is apparently a serial port. The pinout being 3.3V, GND, TX, RX.

After powering it up with a 12V adapter and connecting to the serial port with a USB-to-Serial dongle you can get to a Linux login prompt. After a bit of searching I found out there is a root account with a factory default(!) password ‘sohoadmin’ [Source].

Logging into the TL-WDR3600 as root gives you a BusyBox shell with an ancient 2.6 Linux kernel. The root mount point seems to be a read-only (flash?) storage, so no fun to be had here. The system would probably need to be re-flashed to change any of the contents.

Categories
Hardware Linux

Serial Connection to ZyXEL NGB6515

This evening I toyed around with my now deprecated wireless router ZyXEL NGB6515. After opening the case there is a distinct 4-pin connection point for the serial console. The pins being 3.3V, GND, TX, RX (3.3V is the square pin).

Connecting a USB-to-Serial dongle set to 57600 bauds yielded a log from the main MediaTek MT7620a processor. Right after I connected the 12V power there is a short period when the bootloader (U-Boot) waits for an integer input to choose which mode of operation the device should run in (e.g. flashing, OS boot etc.).

By default the system boots a 3.2.9 Linux kernel. Though I couldn’t come up with a way of controlling the command prompt. There is a “cmd>” prompt, but it ignored any input and just reprinted the prompt on every newline.

Sadly this device is not supported by OpenWRT, even though the MT7620a processor is a pretty standard chip among home routers.

Categories
Hardware Open source Programming

LilyBook – Tiny E-Ink Ebook Reader

As laid out in a previous post, I prepared an open source firmware for the ESP32 with e-ink display, LILYGO® TTGO T5 V2.4 and posted it on GitHub. See the git repository on how to build the source code.

Currently the firmware allows you to scroll through a whole book (in plain text format) that you can load from an SD card into the device’s flash memory. It also tells you your progress (how far in the book you’ve come).

But wait! There is not only the source code, I created a tightly fitting enclosure as well. You can fabricate it on your 3D printer. <STL to follow when I feel like it (-_-) >

Categories
Ideas Open source Programming Projects Technology

Idea: Tiny E-Ink Reader

I was shopping around on Aliexpress, looking at the current options for a small e-ink display. To find out if there was maybe something I could attach to the back of my future PinePhone. And then I discovered this:

LILYGO® TTGO T5 V2.2 ESP32  2.9″ EPaper Plus Module E-Ink Speakers

H208-_07
H208-_06

It is an ESP32 SoC with a 2.9″ e-ink display, microSD card slot, speaker and 4 buttons, all on a single board. Ready to be programmed. There is even a GIT repository (not just one, but two!) for a ready-built firmware.

This gave me an idea — how about building a tiny low-power, WiFi/Bluetooth-enabled ebook reader? Sounds like a plan!

I ordered the “version 2.4” of the board, whatever that means: Aliexpress link

G702-C主图01
2.9″ black and white version

Originally I was considering getting the Black-White-Red version of the display, but then I found out that the red color takes ages (up to 8 seconds) to redraw, so I went for the regular e-ink display. Hopefully it comes soon!

Categories
Ideas Privacy Technology

Idea: Free Internet Over Telegram

Here’s an idea how to get unlimited free Internet data for your mobile device:

  1. Buy a pre-paid SIM card with a “free Telegram traffic” package
  2. Write a TUN device transferring data over a Telegram chat
  3. Setup a tunnel between a “client device” and a “server device” (i.e. a phone with the SIM and a VPS)
  4. Free internet!

Why? Mobile service providers often offer unlimited data to certain servers as a promotion (they get some revenue from promoting the service). And since all of the traffic will be going through these servers, you won’t hit the FUP limit.

Feel free to substitute Telegram with any chat service, though this one seemed the most open and API-accessible out of the offered ones.

Resources

Categories
Awesome Open source Programming Projects Technology

How to use an ESP8266 — a jumpstart tutorial

If you haven’t done so already, go buy yourself an ESP8266-based board. It is a powerful little microcontroller. Something like Arduino but with WiFi.

ESP8266 in the wild

What hardware to get

What software to get

  • ESP open SDK
    • Contains all the tools needed for compiling your own ESP firmware.
  • NodeMCU firmware
    • This converts the ESP to a LUA-powered computer.
  • ESPlorer
    • Very helpful serial terminal with direct ESP8266 and NodeMCU support

What to do with it all

  1. Find the pinout of your board. Get the connections ready (USB-UART + 3.3V power source + ESP8266)
    • 3.3V to VCC, GND to GND
    • RX to TX and TX to RX (ESP–UART).
    • CH_PD to VCC
    • Leave Reset floating, connect to GND to reset the chip when needed.
    • Pull the GPIO0 low for flashing.
  2. If you just want to get the ESP fired up, use the esptool.py and upload the precompiled NodeMCU bin images.
  3. If you want to play around some more, get the SDK and NodeMCU source code. Compile the former and then the latter. Flash our own bin images.
  4. Remove GPIO0 connection to leave the flashing mode.
  5. Open the ESPlorer and issue some commands to the chip!

Useful links

  • Dejvino’s NodeMCU firmware
    • Forked from the original NodeMCU firmware repository. Contains a new Sniffer module — packet sniffing functions exposed to the LUA interpreter. This allows WiFi packet sniffing using the ESP8266.
  • NodeMCU API
    • List of provided LUA functions in the NodeMCU firmware.
  • LUA language reference
    • Beware that not everything is supported in the ESP version of LUA.